Its time for the goddess to get her spotlight time :D
The girl is all ready for paint (plus all of her hair extensions :D)


For the base color I used Buff Beige acrylics by Anericana. I just found this new line of satin paint and just had to try it out :D The color itself is alittle pale, but great as a base tone.


Shaded with some transparent Brown Iron Oxide (Golden acrylics)


Next is her body color. First I shaded with Sap Green and followed up with some green/brown washes.


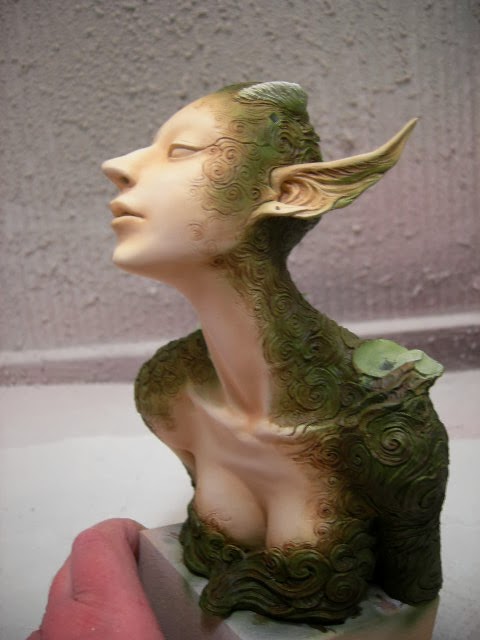
Highlighted with Light buttermilk white (drybrushing)


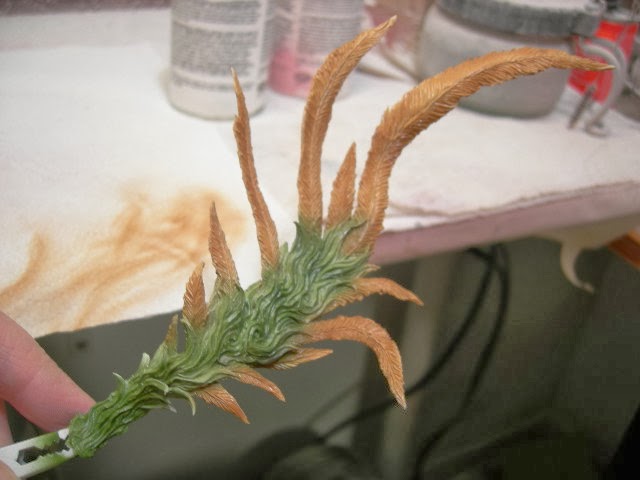
Did the same treatment for her hair/feathers.


her spine
 some head pieces


her long long tale


Added her main hair/feather piece


Now a little tutorial on eye lashes :D
I am using the real "fake"eyelashes
 the eye is already painted before I put any lashes in.
 Using Elmer's paper glue, I added the lashes


Cut the lashes to size


After the glue dried, I outlined the bottom on the lashes with black. Most of the glue dries clear, but couple of spots were a little discolored.
The girl is all ready for paint (plus all of her hair extensions :D)
For the base color I used Buff Beige acrylics by Anericana. I just found this new line of satin paint and just had to try it out :D The color itself is alittle pale, but great as a base tone.
Shaded with some transparent Brown Iron Oxide (Golden acrylics)
Next is her body color. First I shaded with Sap Green and followed up with some green/brown washes.
Highlighted with Light buttermilk white (drybrushing)
Did the same treatment for her hair/feathers.
her spine
her long long tale
Added her main hair/feather piece
Now a little tutorial on eye lashes :D
I am using the real "fake"eyelashes
Cut the lashes to size
After the glue dried, I outlined the bottom on the lashes with black. Most of the glue dries clear, but couple of spots were a little discolored.


